Modine Heater Troubleshooting Guide
Navigating Modine heater issues requires understanding components and common faults, from electrical problems to gas supply concerns and airflow obstructions.
Modine Manufacturing has established itself as a leading provider of heating solutions for diverse applications, spanning residential, commercial, and industrial sectors. Their heaters, particularly the Hot Dawg series, are renowned for their robust construction and efficient operation. However, like any mechanical system, Modine heaters can encounter issues requiring troubleshooting.
Understanding the fundamental principles of operation is crucial before diving into repairs. These heaters typically utilize gas or electricity to generate heat, distributing it via a fan. A key feature is the LED indicator on the circuit board, which provides diagnostic information through blinking patterns, signaling potential faults like obstructed vents or airflow issues.
This guide aims to equip users with the knowledge to diagnose and resolve common Modine heater problems, ensuring safe and effective operation. Proper maintenance and timely troubleshooting can significantly extend the lifespan of your heater and minimize downtime.
Understanding Modine Heater Components
Modine heaters comprise several key components working in unison. The burner ignites the fuel source (typically gas), generating heat within the heat exchanger. A gas valve regulates fuel flow, while a flame sensor ensures safe and efficient combustion. The circuit board acts as the heater’s control center, monitoring sensors and operating the fan.
The fan circulates air across the heat exchanger, distributing warmth. Vent pipes expel combustion byproducts, and intake airflow provides oxygen for combustion. Crucially, the power supply and wiring deliver electricity to operate these components.
Understanding the function of each part is vital for effective troubleshooting. For instance, a faulty flame sensor can prevent ignition, while blocked vent pipes can lead to carbon monoxide buildup. Regular inspection of these components can proactively identify potential issues before they escalate into major problems.
Common Modine Heater Problems
Modine heaters, while robust, can experience several recurring issues. A frequent complaint is the heater won’t start, often due to electrical faults, a faulty gas valve, or a malfunctioning flame sensor. Another common problem is no heat output, potentially caused by a blocked heat exchanger, insufficient gas supply, or a defective burner.
Many users report a scenario where the fan operates but no heat is produced, indicating issues with the burner assembly or a problem with the flame detection system. Obstructed vent pipes or blocked intake airflow are also frequent culprits, hindering proper combustion.
These issues can stem from debris accumulation, component wear, or electrical malfunctions. Recognizing these common problems is the first step towards effective diagnosis and repair, ensuring your Modine heater operates safely and efficiently.
Heater Won’t Start
A Modine heater failing to start is often linked to electrical issues or gas supply problems. Begin by verifying the power supply and wiring, ensuring correct voltage and secure connections. Inspect the circuit board for any visible damage and observe the LED indicators for fault codes – blinking patterns signal specific problems, like obstructed vents.
Testing for continuity in wiring is crucial; an open circuit will prevent operation. If electrical components seem fine, investigate the gas supply. Confirm the gas valve position is correct and check for gas line blockages. A crossed main power feed is also a possibility, requiring wire switching.
Remember safety first – disconnect power before any inspection. A systematic approach, starting with the simplest checks, will efficiently pinpoint the cause.
No Heat Output
When a Modine heater runs but produces no heat, the issue often lies within the burner assembly or gas valve functionality. Begin by inspecting the burner for debris – accumulated dust or obstructions can prevent proper ignition. Simultaneously, verify the flame sensor functionality; a faulty sensor won’t detect the flame, shutting down heat production.
Troubleshooting the gas valve involves ensuring it’s in the correct position, checking for blockages or dirt, and inspecting for visible wear or damage. A partially closed valve or internal damage can restrict gas flow. Also, consider airflow; obstructed vent pipes or intake air blockages can hinder heat exchange, even with a functioning burner.
Always prioritize safety and disconnect power before inspecting internal components. A methodical approach is key to identifying the root cause;
Fan Operates But No Heat
If your Modine heater’s fan runs but delivers no heat, the problem likely resides within the ignition or gas supply system. A common culprit is a malfunctioning igniter – if it’s not sparking, the burner won’t light. Simultaneously, check the flame sensor functionality; a faulty sensor prevents the gas valve from staying open, halting heat production.
Troubleshooting the gas valve is crucial. Ensure it’s fully open and inspect for any blockages or damage. A restricted gas flow will prevent ignition. Furthermore, inspect the burner for debris, as obstructions can extinguish the flame immediately after ignition. Remember to check for crossed power wires, as reported in some cases.
Prioritize safety by disconnecting power before any inspection. A systematic approach will pinpoint the issue.
Troubleshooting Steps: Electrical Issues
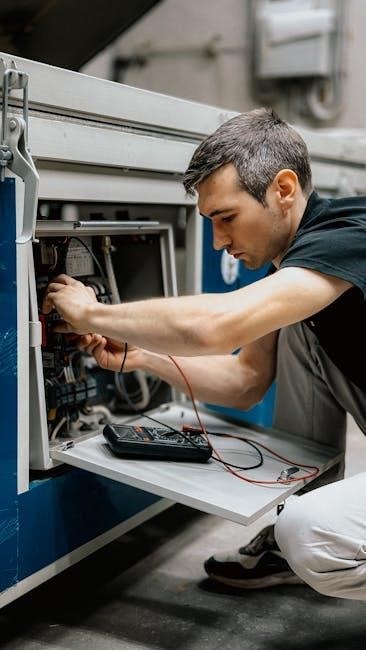
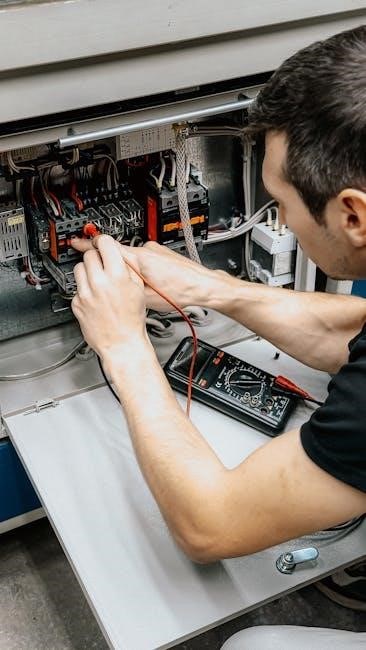
Addressing electrical problems in a Modine heater begins with safety – always disconnect power before inspection. Checking the power supply and wiring is paramount; ensure proper voltage and secure connections. Look for frayed wires or loose terminals. The heater’s circuit board often provides diagnostic clues.
Inspecting the circuit board and LED indicators can reveal specific fault codes. Modine heaters utilize blinking LED patterns to signal issues, such as obstructed vents. Utilize the manufacturer’s manual to decode these signals. A crucial step involves testing for continuity in wiring using a multimeter.
An open circuit indicates a break in the wire, preventing power flow. Remember, a crossed main power feed can also cause issues, requiring wire switching. Thorough electrical checks are vital for safe and effective repair.
Checking Power Supply and Wiring
Begin with safety: disconnect the heater’s power supply at the breaker before any inspection. Verify the voltage reaching the unit matches the heater’s specifications using a multimeter. Inspect the wiring for any visible damage – look for frayed insulation, burnt wires, or loose connections. Pay close attention to the wiring at the terminal blocks and connections to the circuit board.
Ensure all connections are tight and secure. A loose wire can interrupt the power flow and prevent the heater from starting. Check the ground wire connection; a faulty ground can cause electrical issues and safety hazards. If wiring appears damaged, it must be replaced by a qualified technician.
Confirm the power cord itself isn’t damaged. A damaged cord can create a short circuit or prevent power delivery.
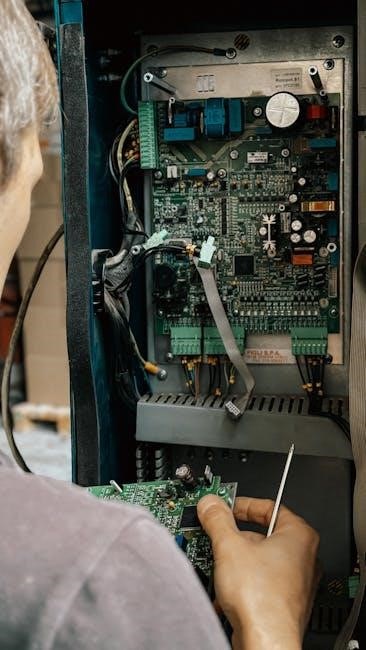
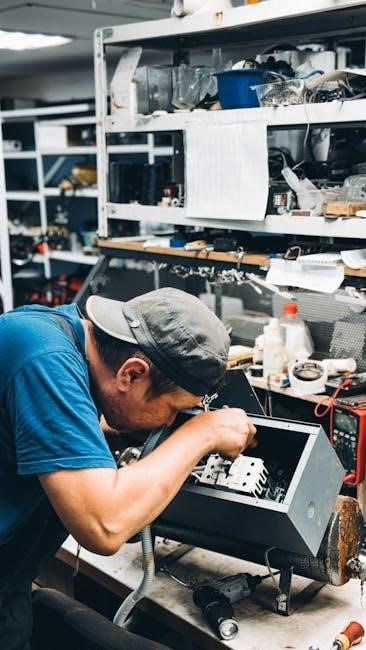
Inspecting the Circuit Board and LED Indicators
The circuit board houses critical components and often features LED indicators that signal fault codes. Carefully examine the board for any signs of burnt components, swollen capacitors, or damaged traces. Refer to the Modine heater’s service manual to decipher the meaning of specific LED blink patterns.
LEDs provide valuable diagnostic information; obstructed vent pipes or intake blockages are often indicated by specific blink sequences. Document the blink pattern before proceeding, as this will help pinpoint the issue. Avoid touching components directly to prevent static discharge damage.
If the LED indicates a fault, attempt to address the corresponding issue. If the board appears damaged, replacement by a qualified technician is recommended.
Testing for Continuity in Wiring
A crucial step in electrical troubleshooting involves verifying the continuity of wiring connections. Disconnect power to the heater before commencing any electrical tests. Utilize a multimeter set to the continuity testing mode – typically indicated by a diode symbol or audible beep.
Systematically check each wire within the heater’s circuit, from the power supply to the burner and fan motor. Touch the multimeter probes to each end of the wire; a complete circuit will register continuity, often with a beep. An open circuit (no continuity) indicates a broken wire or a loose connection.
If an open circuit is detected, carefully inspect the wire for visible damage. Repair or replace any faulty wiring to restore proper functionality. Remember safety first – always disconnect power before working with electrical components.
Troubleshooting Steps: Gas Supply Issues
Addressing gas supply problems is vital for heater functionality. Begin by verifying the gas valve position; ensure it’s fully open to allow gas flow. Inspect the gas line for any visible blockages, kinks, or damage that could restrict gas delivery. Look for dirt or debris accumulating around the valve, potentially hindering operation.
Carefully examine the gas valve itself for signs of wear and tear, corrosion, or leaks. A faulty valve may not open or close properly, disrupting the gas supply. If damage is apparent, the valve likely needs replacement by a qualified technician.
Always prioritize safety when dealing with gas lines; never attempt repairs if you’re uncomfortable or lack the necessary expertise. Contact a professional for gas-related issues to prevent potential hazards.
Verifying Gas Valve Position
Confirming the gas valve’s position is a fundamental step in troubleshooting. Locate the gas valve, typically near the gas supply line connecting to the heater. Ensure the valve handle is positioned in the ‘ON’ or ‘OPEN’ position, aligning with the gas pipe. Some valves use a lever; verify it’s fully engaged.
If the valve appears closed or partially closed, carefully rotate the handle or engage the lever to the fully open position. Avoid forcing it; if resistance is met, consult a qualified technician. A partially closed valve restricts gas flow, preventing proper heater operation.
Double-check the valve’s alignment to ensure it’s securely in the open position. A loose or misaligned valve can intermittently interrupt the gas supply. Proper valve positioning is crucial for safe and efficient heater performance.
Inspecting for Gas Line Blockages
Gas line blockages severely restrict gas flow, hindering heater performance. Begin by visually inspecting the gas line for any kinks, bends, or physical damage; Check connections at the gas valve, regulator, and burner for tightness and corrosion. Look for debris, such as dust, rust, or spiderwebs, accumulating around fittings.

Carefully disconnect the gas line (after shutting off the gas supply!) and inspect the interior for obstructions. Use a small brush or compressed air to clear any debris. Pay close attention to the gas regulator, as it’s prone to blockage. Ensure the line is free of any internal buildup.
Reassemble the gas line securely, ensuring all connections are tight. Test for leaks using a soap solution; bubbles indicate a leak. Clear gas lines are essential for safe and efficient heater operation, preventing incomplete combustion.
Checking for Gas Valve Wear and Damage
Gas valve deterioration can lead to inconsistent heating or complete failure. Visually inspect the valve body for cracks, corrosion, or physical damage. Examine the valve handle and knob for looseness or difficulty in operation. Listen for hissing sounds near the valve, indicating a potential gas leak.
Carefully check the valve’s internal components, if accessible, for wear or buildup. Look for signs of erosion on the valve seat and plunger. Inspect the diaphragm (if equipped) for tears or punctures. A damaged valve may not modulate gas flow correctly.
If wear or damage is evident, the gas valve should be replaced by a qualified technician. Do not attempt to repair a damaged gas valve yourself. A faulty valve poses a safety hazard and compromises heater efficiency, requiring professional attention.
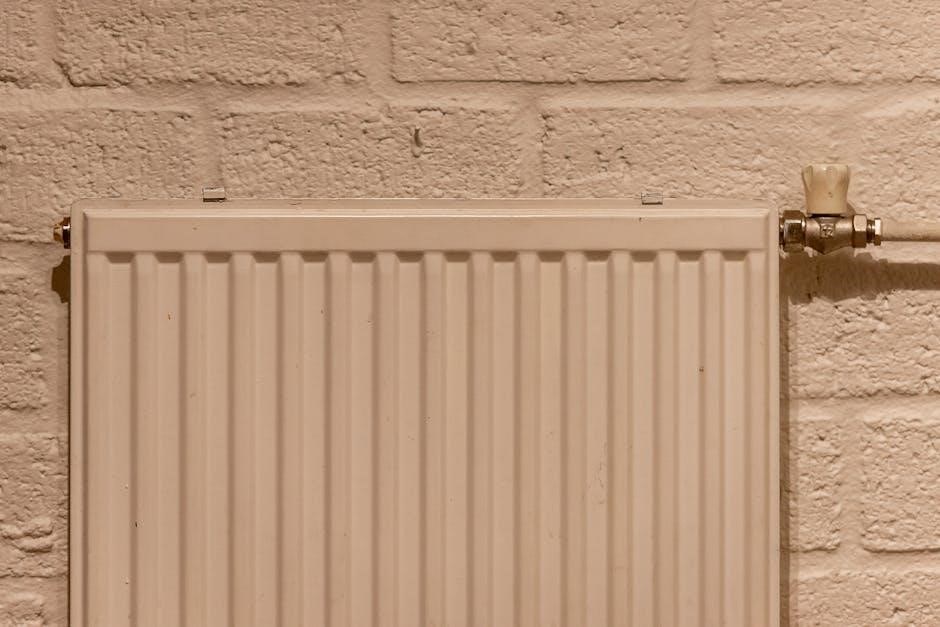
Troubleshooting Steps: Airflow Issues
Restricted airflow significantly impacts heater performance, causing reduced heat output or even shutdown. Begin by identifying any obstructions in the vent pipes, which are crucial for exhaust gas removal. Check for bird nests, debris, or collapsed sections of venting. Ensure proper venting is maintained to prevent carbon monoxide buildup.
Next, assess the intake airflow. Inspect the air intake grille for blockages like dust, dirt, or furniture. Confirm sufficient clearance around the heater to allow for adequate air circulation. A blocked intake starves the burner, leading to inefficient combustion.
Verify the fan is operating correctly and isn’t obstructed. A malfunctioning fan cannot deliver the necessary airflow. Address any airflow restrictions promptly to restore optimal heater function and safety.
Identifying Obstructed Vent Pipes
Obstructed vent pipes are a frequent cause of Modine heater malfunctions, hindering exhaust gas expulsion and potentially leading to dangerous carbon monoxide buildup. Begin a visual inspection of the entire vent system, looking for obvious blockages like bird nests, leaves, snow, or debris accumulation. Pay close attention to pipe connections and seams, where obstructions often form.
Check for collapsed or crushed sections of the vent pipe, which restrict airflow. Ensure proper slope throughout the venting system to facilitate efficient exhaust flow. A lack of slope can cause condensation and blockages. Carefully examine the vent termination point, ensuring it’s clear of obstructions and properly positioned.
If a blockage is suspected but not visible, consider using a specialized vent pipe inspection tool or consulting a qualified HVAC technician for a thorough assessment. Promptly remove any obstructions to restore safe and efficient heater operation.
Checking for Blocked Intake Airflow
Restricted intake airflow significantly impacts Modine heater performance, causing inefficient combustion and potential shutdown. Begin by visually inspecting the air intake grille for obstructions like dust, dirt, cardboard, or other debris. Ensure the area around the intake is clear of any materials that could impede airflow.
Check the air filter, if equipped, and replace it if it’s dirty or clogged. A dirty filter restricts airflow and reduces heater efficiency. Inspect the intake ductwork for any kinks, bends, or collapses that could restrict airflow. Verify that the intake vents are not blocked by external objects like snowdrifts or vegetation.
Proper airflow is crucial for safe and efficient operation. If airflow remains restricted after inspection, consult a qualified HVAC technician to diagnose and resolve the issue. Regular maintenance and cleaning of the intake area will prevent future blockages.
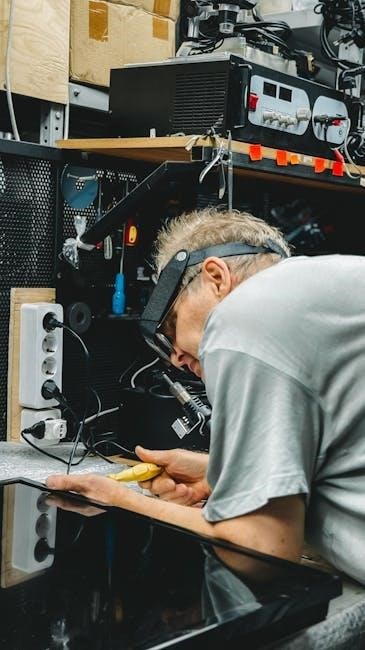
Troubleshooting Steps: Burner Issues
Burner problems are frequent causes of Modine heater malfunctions. Start by inspecting the burner assembly for any visible debris, such as dust, dirt, or insect nests, which can obstruct gas flow and prevent ignition. Carefully clean the burner using a soft brush or vacuum cleaner.
Next, check the flame sensor; a faulty sensor won’t detect the flame, shutting down the heater. Use a multimeter to test the sensor’s continuity – an open circuit indicates a faulty sensor needing replacement. Ensure the flame sensor is properly positioned to detect the flame.
If the burner still won’t ignite, inspect the gas supply to the burner. Low gas pressure or a blocked gas line can prevent proper ignition. Always prioritize safety; if you suspect a gas leak, immediately shut off the gas supply and contact a qualified technician.
Inspecting Burner for Debris
A clogged burner is a common reason for a Modine heater failing to ignite or produce sufficient heat. Begin by visually examining the burner assembly for any obstructions. Look for dust accumulation, dirt, lint, insect nests, or any foreign materials that could be blocking the gas flow to the burner ports.
Carefully remove any visible debris using a soft brush, a vacuum cleaner with a brush attachment, or compressed air – exercise caution when using compressed air to avoid forcing debris further into the burner. Pay close attention to the burner ports, ensuring they are clear and unobstructed.
Regularly scheduled inspections and cleaning of the burner assembly are crucial for maintaining optimal heater performance and preventing potential issues. A clean burner ensures efficient combustion and safe operation of your Modine heater.
Checking Flame Sensor Functionality
The flame sensor is a critical safety component that verifies the presence of a flame, allowing the gas valve to remain open. If the flame sensor malfunctions, the heater may shut down as a safety precaution, even if a flame is present. To test the flame sensor, you’ll need a multimeter to check for continuity.
First, disconnect the wire from the flame sensor. Then, set your multimeter to the continuity setting. Place one probe on the flame sensor itself and the other on the wire connector. A reading of continuity (typically a beep or a low resistance value) indicates a functioning sensor. If there’s no continuity, the sensor is likely faulty and needs replacement.
Ensure the sensor is clean and properly positioned near the flame. A dirty or misaligned sensor can also cause false readings. Proper flame sensor function is vital for safe and reliable heater operation.
Safety Precautions When Troubleshooting
Prioritizing safety is paramount when troubleshooting a Modine heater. Always disconnect the power supply – both electrical and gas – before commencing any inspection or repair work. Gas leaks are a serious hazard; if you smell gas, immediately shut off the gas supply and ventilate the area. Never attempt repairs if you are uncomfortable or lack the necessary expertise.
Wear appropriate personal protective equipment (PPE), including safety glasses and gloves. Be cautious of hot surfaces, especially after the heater has been running. Avoid working in damp or wet conditions to prevent electrical shock. Ensure adequate ventilation during troubleshooting, particularly when dealing with gas appliances.
If unsure about any aspect of the repair process, consult a qualified HVAC technician. Ignoring safety precautions can lead to serious injury or property damage.
Resources for Modine Heater Repair
Accessing reliable resources is crucial for successful Modine heater repair. Modine Manufacturing provides comprehensive manuals detailing installation, operation, and troubleshooting procedures for various heater models; these are often available directly on their website or through ManualsLib. Online forums, such as The Garage Journal, offer valuable insights from experienced users who have tackled similar issues, providing practical advice and potential solutions.
Hellotroubleshooting.com presents expert tips and solutions specifically tailored to Modine heaters, offering a structured approach to diagnosing and resolving common problems. Remember to always verify information found online with official documentation or a qualified technician. Utilizing these resources empowers you to effectively address heater malfunctions and maintain optimal performance.
Always prioritize safety and consult a professional when dealing with complex repairs.
Modine Manufacturing Manuals
Modine Manufacturing offers a wealth of documentation to assist with heater maintenance and repair. These manuals, often available through their official website and platforms like ManualsLib, are model-specific and contain detailed information regarding installation procedures, operational guidelines, and comprehensive troubleshooting steps. Gas-fired unit heater manuals, such as those for the HD series (spanning 224 pages), provide in-depth diagrams and explanations of the heater’s components.
These resources are invaluable for understanding the heater’s functionality and identifying potential issues. Manuals typically include sections on electrical schematics, gas valve operation, and burner maintenance. Accessing the correct manual for your specific Modine heater model is the first step towards effective troubleshooting and ensuring safe, reliable operation. Always refer to the manufacturer’s instructions for accurate guidance.
Online Forums and Communities
Engaging with online forums and communities dedicated to heating systems, and specifically Modine heaters, can provide a valuable support network for troubleshooting. Platforms like The Garage Journal host discussions where users share experiences, solutions, and insights into common problems. These communities often feature threads addressing issues like burners failing to ignite despite fan operation, or diagnosing electrical faults.
The collective knowledge of experienced users can be incredibly helpful when facing unfamiliar challenges. Users frequently post detailed descriptions of their issues, along with potential fixes and diagnostic steps. Remember to exercise caution and verify information obtained from online sources, but these forums can offer alternative perspectives and practical advice beyond the official documentation. Sharing your specific issue can yield targeted assistance.