Discover the secrets to perfectly slicing an 8-inch cake with our comprehensive guide. Learn how to achieve even servings, minimize crumbs, and ensure everyone enjoys a fair share.
Understanding the Importance of Proper Cake Cutting
Proper cake cutting is essential for ensuring even servings, maintaining presentation, and minimizing waste. An 8-inch cake typically serves 8 to 16 people, depending on slice size. Cutting evenly ensures everyone enjoys a fair share, while uneven slices can lead to disappointment. Proper techniques also preserve the cake’s structure, preventing it from breaking or crumbling. Additionally, precise cutting allows for better portion control, catering to both standard and generous serving preferences. With the right tools and methods, you can achieve clean, uniform slices, making your 8-inch cake a delightful experience for all. This guide provides step-by-step instructions to help you master the art of cake cutting, ensuring your celebrations are memorable and stress-free.
Benefits of Using an 8 Inch Cake
An 8-inch cake offers versatility and convenience for various events. Its compact size makes it ideal for small gatherings, while its generous serving capacity can accommodate larger groups when cut appropriately. The cake’s manageable size allows for easier handling, transportation, and storage. Additionally, an 8-inch cake ensures consistent baking results, with even cooking throughout. This size is particularly popular for its balance between portion control and visual appeal, making it a favorite for birthdays, weddings, and casual celebrations. The availability of downloadable cutting guides further enhances its practicality, enabling precise slicing. Whether you’re hosting an intimate dinner or a larger event, an 8-inch cake provides the perfect blend of convenience, presentation, and flavor, ensuring a delightful experience for everyone involved.
Overview of the Cutting Guide
This comprehensive guide provides detailed instructions for cutting an 8-inch cake efficiently. It includes downloadable resources like PDFs and printable templates to ensure precise slicing. The guide covers various serving sizes, from standard 1-inch wedges to generous 2-inch portions, accommodating both small and large gatherings. Visual aids, such as diagrams and step-by-step illustrations, are included to simplify the process. The guide also offers tips for achieving uniform slices, minimizing crumbs, and handling layered or chilled cakes. Whether you’re a professional caterer or a home baker, this guide ensures that every slice is perfectly portioned and visually appealing. Its versatility makes it suitable for events of all sizes, guaranteeing that everyone enjoys an equal share of the cake. The resources are easy to follow, making cake cutting a stress-free experience.
Tools and Equipment Needed for Cutting an 8 Inch Cake
Essential tools include a sharp serrated knife, cake stand, and serving spatula. Ensure the cake is level before cutting for even, clean slices every time.
Essential Tools: Sharp Knife, Cake Stand, and Serving Spatula
A sharp serrated knife is vital for clean, precise cuts. A cake stand elevates the cake, making it easier to access all sides. A serving spatula helps transfer slices without breaking.
Importance of Using a Serrated Knife
How to Ensure the Cake is Level Before Cutting
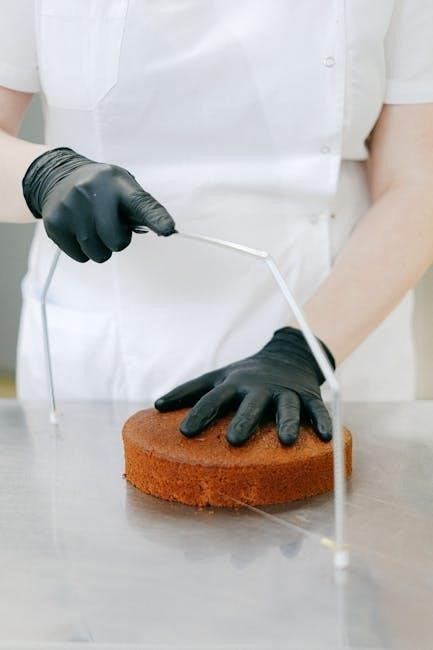
Ensuring the cake is level is crucial for even slicing. Place the cake on a flat surface or cake stand. Use a serrated knife or cake leveler to trim any uneven parts. If using a knife, gently saw across the top in smooth, even strokes. For accuracy, you can place a spirit level or straight edge on top to guide your cuts. Once leveled, allow the cake to cool completely to prevent sinking or shifting during cutting. A level cake ensures uniform slices and a professional presentation. This step is especially important for layered or tiered cakes, as an uneven base can affect the stability of the entire structure. Proper leveling guarantees that every slice looks and tastes its best.
Ensuring the cake is level before cutting is essential for even slicing and professional presentation. Start by placing the cake on a sturdy cake stand or flat surface. If the cake is domed or uneven, use a serrated knife to carefully trim the top. Hold the knife horizontally and make smooth, even cuts across the highest points. For precision, you can use a cake leveler or place a straight edge across the top to guide your knife. Once leveled, allow the cake to cool completely to prevent sinking or shifting during cutting; A level cake ensures uniform slices and prevents uneven distribution of frosting or fillings. This step is particularly important for layered cakes, as an uneven base can destabilize the entire structure. Proper leveling guarantees that every slice looks and tastes its best, making your presentation flawless and your serving process efficient.
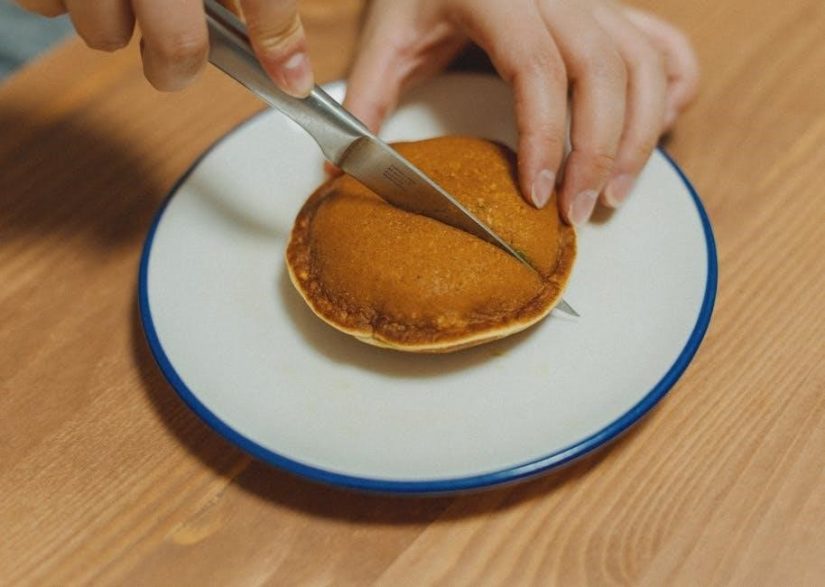
Basic Techniques for Cutting an 8 Inch Cake
Master the fundamentals of cutting an 8-inch cake with precision. Start with a horizontal cut to level, then make radial slices from the center for even distribution and clean results.
The Initial Horizontal Cut: Leveling the Cake
Start by placing the 8-inch cake on a flat surface or cake stand. To ensure even slicing, the cake must be level. If the cake is domed, use a serrated knife to make a horizontal cut across the top, creating a flat surface. This step is crucial for achieving uniform slices later. Once leveled, you can proceed with radial cuts from the center. For the best results, use a sharp knife and a steady hand to guide the blade smoothly across the cake. This initial cut sets the foundation for precise and clean slicing, ensuring every piece is consistent in size and appearance. Proper leveling also prevents the cake from wobbling, making the cutting process safer and more efficient. A level cake is the first step toward perfect servings for any occasion.
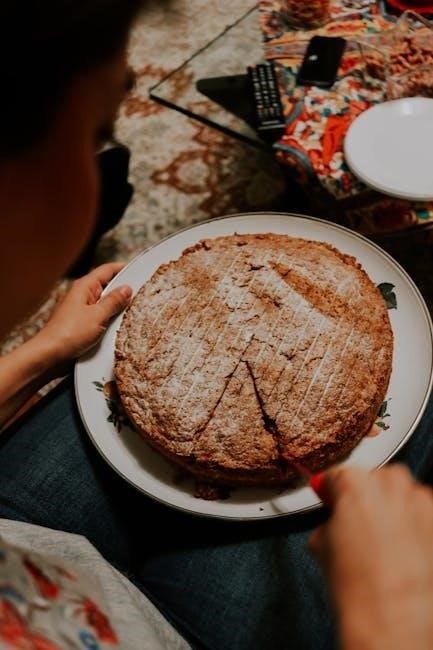
Making the First Radial Cut: Starting from the Center
To achieve uniform slices, begin by making the first radial cut from the center of the leveled 8-inch cake. Position the serrated knife at the center point and gently slice outward in a straight line toward the edge. This initial cut serves as a guide for subsequent slices, ensuring consistency in size and shape. For accuracy, use a cake stand to rotate the cake as you cut, allowing easy access to the center. After the first cut, continue slicing in a radial pattern, maintaining equal spacing between each slice. This method ensures that each piece is evenly portioned and visually appealing. By starting from the center, you can achieve clean, precise cuts that make serving the cake a breeze. This technique is especially useful for events where presentation matters, as it guarantees uniform portions for all guests.

Achieving Even Slices: Tips for Precision Cutting
Achieving even slices requires precision and consistency. Start by ensuring the cake is completely level, as an uneven surface can lead to uneven portions. Use a serrated knife and maintain a steady hand to make clean, straight cuts. Measure the width of each slice beforehand to ensure uniformity, especially for standard or generous servings. For an 8-inch cake, aim for slices that are 1 inch wide for standard portions or 2 inches for larger servings; Rotate the cake stand after each cut to maintain access to the center and ensure even spacing. To avoid crumbs, apply gentle pressure and slice in a smooth, continuous motion. Finally, use a serving spatula to carefully transfer each slice to a plate, ensuring every guest receives a perfectly portioned piece of cake.
Using a Cake Turner for Better Accessibility
A cake turner is an invaluable tool for improving accessibility while cutting an 8-inch cake. Its rotating surface allows you to easily spin the cake, providing access to all sides without lifting or moving the cake itself. This feature is especially helpful for precise radial cuts and ensuring even slicing. The turner’s sturdy base keeps the cake stable, reducing the risk of wobbling or tilting during cutting. By rotating the cake, you can maintain a comfortable cutting position, minimizing strain and effort. This tool is particularly useful for those with limited mobility or when serving large groups. It also helps in achieving clean, straight cuts and ensures that each slice is evenly distributed. With a cake turner, the cutting process becomes more efficient, allowing you to focus on precision and presentation.

Serving Guide for an 8 Inch Cake
An 8-inch cake typically serves 8 standard slices or 6 generous portions. Choose the size based on your event’s needs for optimal serving.
Standard Serving Sizes: 8 Slices
For an 8-inch cake, standard serving sizes typically yield 8 equal slices. This size is ideal for smaller gatherings or events where guests are expected to have a single serving. Each slice is usually cut to be about 3 ounces, ensuring a fair portion for everyone. To achieve this, use a serrated knife and a cake stand to maintain evenness. Start by making radial cuts from the center outward, dividing the cake into 8 equal parts. This method ensures uniformity and makes serving straightforward. For best results, slice when the cake is completely cool and use a serving spatula to lift and transfer slices neatly. This standard size is perfect for birthday parties, intimate dinners, or casual get-togethers.
Generous Serving Sizes: 6 Slices
For a more indulgent approach, an 8-inch cake can be cut into 6 generous slices. This is ideal for events where larger portions are desired, such as weddings, holidays, or special celebrations. Each slice will be thicker and more substantial, offering a hearty serving size. To achieve this, make fewer radial cuts, spacing them evenly to create 6 equal portions. Use a sharp serrated knife and a cake stand to maintain precision. Start by cutting from the center outward, ensuring each slice is uniform in size; This method is perfect for satisfying bigger appetites or providing a more luxurious dessert experience. The larger slices also make for an impressive presentation, making them a great choice for formal gatherings or when serving high-quality, rich cakes.
How to Determine the Right Slice Size for Your Event
Determining the right slice size for your event involves considering the number of guests, the type of gathering, and individual preferences. For formal events, smaller slices (8-12) are often preferred, while casual gatherings may call for larger slices (6-8). If the cake is rich or dense, smaller portions are ideal to avoid overwhelming guests. Conversely, lighter cakes can be served in larger slices. Consider the serving style: buffet-style events may require smaller, easier-to-handle slices, while seated dinners might accommodate larger portions. Use a serrated knife and cake stand to ensure precise cutting. Measure the cake’s height and diameter to calculate even slices. Ultimately, balance guest expectations with portion control to create a satisfying experience. Adjusting slice sizes based on these factors ensures everyone enjoys the cake without waste or disappointment.
Advanced Cutting Techniques for an 8 Inch Cake
Master advanced techniques like precise angular cuts, even layer slicing, and crumb minimization for professional results. These methods ensure uniformity and presentation, perfect for special occasions.
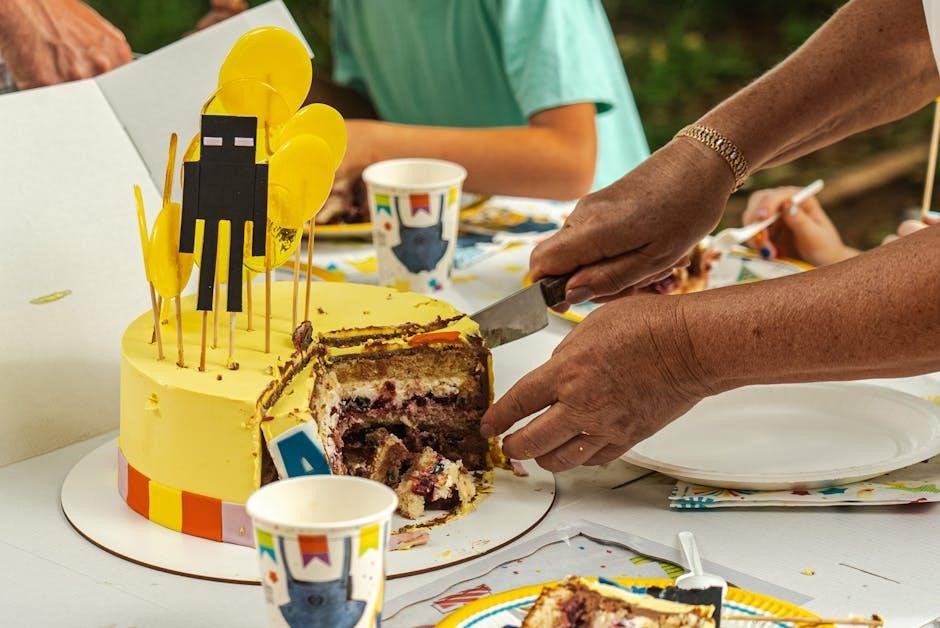
Cutting the Cake into 12 Slices for Larger Gatherings
Cutting an 8-inch cake into 12 slices is ideal for larger gatherings, ensuring everyone gets a portion without compromising on size. Start by leveling the cake to maintain evenness. Use a serrated knife and a cake stand with a turntable for better accessibility. Mark the cake’s circumference at equal intervals using a measuring guide or toothpicks to serve as cutting markers. Begin by slicing the cake in half, then quarters, and finally into 12 uniform slices. To achieve precision, cut slowly and apply gentle pressure, using the markers as a guide. For consistency, ensure each slice is approximately 2.5 inches wide at the base. This method allows for clean, even cuts and minimizes crumbs, making it perfect for hosting larger events. With practice, you can master this technique to impress your guests with perfectly portioned slices every time.
Creating Uniform Slices: Measuring the Knife Angles
Creating uniform slices requires precise knife angle measurement to ensure consistency. Start by leveling the cake and placing it on a cake stand. Using a serrated knife, measure the angle of your cuts to achieve equal slice widths. For an 8-inch cake, aim for slices that are approximately 1 inch wide at the narrowest point and 1.5 inches at the widest. To maintain uniformity, rotate the cake stand after each cut, aligning the knife with the previous slice’s edge. Apply gentle, consistent pressure, avoiding sawing motions. This technique minimizes crumbs and ensures clean cuts. For larger gatherings, measuring the knife angle allows you to create up to 12 uniform slices. Practice makes perfect, so don’t be discouraged if it takes a few attempts to master this skill. Uniform slices not only look professional but also ensure fairness in portion sizes.
Minimizing Crumbs: Tips for Clean Cutting
Minimizing crumbs when cutting an 8-inch cake requires careful technique and the right tools; Always use a serrated knife, as its teeth help break down the cake evenly without tearing. Before cutting, lightly freeze the cake for 10 minutes to firm it up, making it easier to slice cleanly. Place the cake on a cake stand or turntable to stabilize it. Apply gentle, consistent pressure, and avoid sawing motions, which can create crumbs. Use a serving spatula to lift slices, preventing them from breaking or spreading crumbs. Clean the knife between cuts with a damp cloth to remove any loose crumbs. For layered cakes, cut through all layers at once to maintain structure. By following these steps, you can achieve clean, crumb-free slices that look professional and are easy to serve.

Special Considerations for Cutting an 8 Inch Cake
Consider cake texture, temperature, and fillings when cutting. Delicate or layered cakes may require extra care to avoid breaking. Adjust techniques based on specific cake types and conditions.
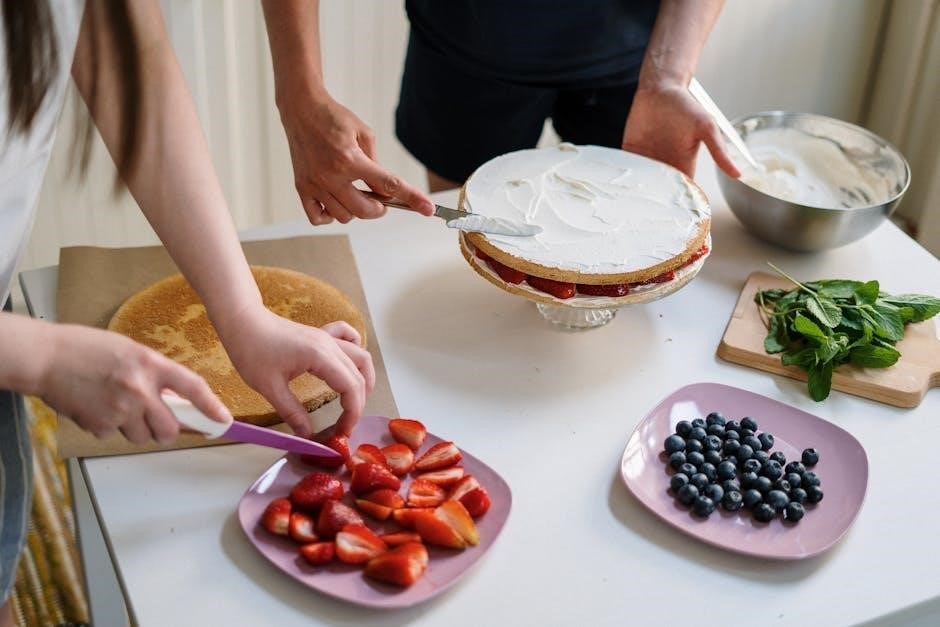
Handling Layered Cakes: Cutting Through Multiple Layers
Cutting layered cakes requires precision to maintain structural integrity. Start by ensuring the cake is completely chilled, as this stabilizes the layers and prevents shifting. Use a long, sharp serrated knife to cut through all layers simultaneously. Place the cake on a sturdy cake stand or non-slip surface to avoid movement. For even slicing, apply gentle, consistent pressure, starting from the top and working downward in a smooth, steady motion. Avoid applying too much pressure, which can cause the layers to separate or the cake to break. To remove a slice, use a serving spatula to carefully lift and transfer it to a plate. Repeat this process for each slice, working around the cake. Always cut away from your body for safety. This method ensures clean, even cuts and preserves the cake’s presentation. Patience is key when handling layered cakes to achieve professional-looking results.
Cutting Frozen or Chilled Cakes: Best Practices
Cutting frozen or chilled cakes requires careful preparation to ensure clean, even slices. Always let the cake thaw slightly at room temperature for 10-15 minutes to prevent the knife from dragging. Use a sharp serrated knife, as it glides through the cake more smoothly than a straight-edged knife. Score the cake lightly with the knife before making the final cut to guide your slice. Place the cake on a stable surface, such as a cake stand or cutting board, to maintain control. Apply gentle, consistent pressure, using a sawing motion to minimize crumbs. For frozen cakes, let them thaw just enough to soften the exterior while keeping the interior firm. This ensures the cake holds its shape during cutting. After slicing, wrap any uneaten portions tightly to maintain freshness. This method ensures precise, professional-looking results when cutting chilled or frozen 8-inch cakes.
Accommodating Different Preferences: Small, Medium, and Large Slices
When serving an 8-inch cake, it’s important to cater to varying preferences by offering small, medium, and large slices. Start by cutting the cake into 8 equal slices as a standard size. For smaller portions, cut each slice in half, resulting in 16 smaller pieces. For larger servings, cut the cake into 6 slices instead of 8, ensuring each slice is more generous. Use a serrated knife to make clean cuts, and consider marking the cake with light scoring to guide your slicing. To maintain consistency, use a cake stand with measurements or a printable template. This approach allows guests to choose their preferred portion size, accommodating different appetites and dietary needs. Offering varied slice sizes enhances the overall serving experience, making it more flexible and guest-friendly for any event.

Visual Guide and Printable Resources
A visual guide provides step-by-step diagrams for precise cake cutting, while printable resources like templates ensure accuracy. Downloadable tools help achieve professional results effortlessly at home.
Downloadable 8 Inch Cake Cutting Guide PDF
Enhance your cake-cutting experience with a downloadable 8-inch cake cutting guide PDF. This convenient resource provides detailed diagrams, step-by-step instructions, and measurement charts to ensure precise slicing. Perfect for both beginners and experienced bakers, the guide includes visual aids to help you achieve uniform slices every time. The PDF is easily printable, allowing you to keep it in your kitchen for quick reference. It also offers tips for cutting cakes into 6, 8, or 12 slices, depending on your needs. The guide is optimized for all devices, so you can access it on your smartphone, tablet, or computer. Whether you’re hosting a small gathering or a large event, this PDF ensures your cake is presented professionally and serves your guests perfectly. Download it now and take your cake-cutting skills to the next level!
Using a Printable Template for Precise Slicing
A printable template is a game-changer for achieving perfectly sized and evenly spaced slices when cutting an 8-inch cake. These templates are designed with marked lines to guide your knife, ensuring consistency and precision. You can find templates online or create one at home using sturdy paper or cardstock. Simply place the template around the cake and use the lines as a visual guide to make clean, straight cuts. This method is especially useful for beginners or those who struggle with measuring slices evenly. The template also helps minimize waste by ensuring every slice is uniform. For best results, secure the template with toothpicks or weights to keep it in place while cutting. This simple tool makes serving professional-looking slices effortless and stress-free, perfect for special occasions or everyday use.
Visual Aids: Diagrams and Step-by-Step Illustrations
Visual aids like diagrams and step-by-step illustrations are invaluable for mastering the art of cutting an 8-inch cake. Diagrams provide a clear visual representation of how to position the knife and where to make each cut. They often include measurements and angles to help you achieve uniform slices. Step-by-step illustrations break down the process into manageable parts, showing the progression from the initial cut to the final slice. These visuals are particularly helpful for beginners, as they offer a clear roadmap for precise cutting. Many guides include images of radial cuts, concentric circles, and layer-by-layer slicing techniques. By following these visuals, you can avoid common mistakes and ensure every slice looks professional. Whether you’re cutting for a small gathering or a large event, visual aids make the process easier and more efficient, guaranteeing perfect results every time.
Mastering the 8-inch cake cutting guide ensures precise, professional results. Use sharp tools, maintain even pressure, and follow visual aids for uniform slices. Practice makes perfect—happy baking!
Summarizing the Key Points for Perfect Cake Cutting
To achieve perfect cuts for your 8-inch cake, start by ensuring the cake is level and chilled. Use a sharp serrated knife and a cake stand for better control. Always cut in smooth, even motions, applying gentle pressure. For standard servings, aim for 8 slices, or 6 for larger portions. To achieve uniformity, measure knife angles and use a cake turner for accessibility. When cutting through layers or frozen cakes, stability is key. Consider preferences by offering small, medium, or large slices. Minimize crumbs by cutting cleanly and serving immediately. Use visual aids like diagrams or templates for precision. Finally, practice your technique to master the art of cutting an 8-inch cake effortlessly.